How to Use Dentist-Prescribed Whitening Trays for a Brighter Smile: A Step-by-Step Guide
That first look in the mirror after starting teeth whitening—maybe you feel excited, maybe a bit worried. “Am I doing this right? Will it work for me? What if my teeth feel sore?” If you’re holding a set of custom whitening trays from your dentist and feeling unsure, you’re not alone. Many people feel happy but also a little bit nervous when starting to whiten their teeth at home. And you want to get it right, especially since this is not some random kit from the store, but a treatment made just for you.
You’re smart to look for easy instructions. Custom whitening trays from a dentist work really well—if you know how to use them. This guide will show you every step, answer the most common questions, and give a few simple tips that really help. Ready to make your smile brighter, safely and with confidence? Let’s get started.
In This Article
- What Are Whitening Trays from the Dentist—and Why Are They a Smart Choice?
- Before You Begin: Key Preparation Steps
- How to Use Whitening Trays: Step-by-Step Instructions
- Managing Sensitivity and Troubleshooting Issues
- Tips for the Brightest, Longest-lasting Results
- Who Are Dentist-Prescribed Whitening Trays Best For?
- Key Takeaways & Next Steps for Your Smile
What Are Whitening Trays from the Dentist—and Why Are They a Smart Choice?
First, you might ask:
What are custom teeth whitening trays, and why do dentists want you to use them instead of store kits?
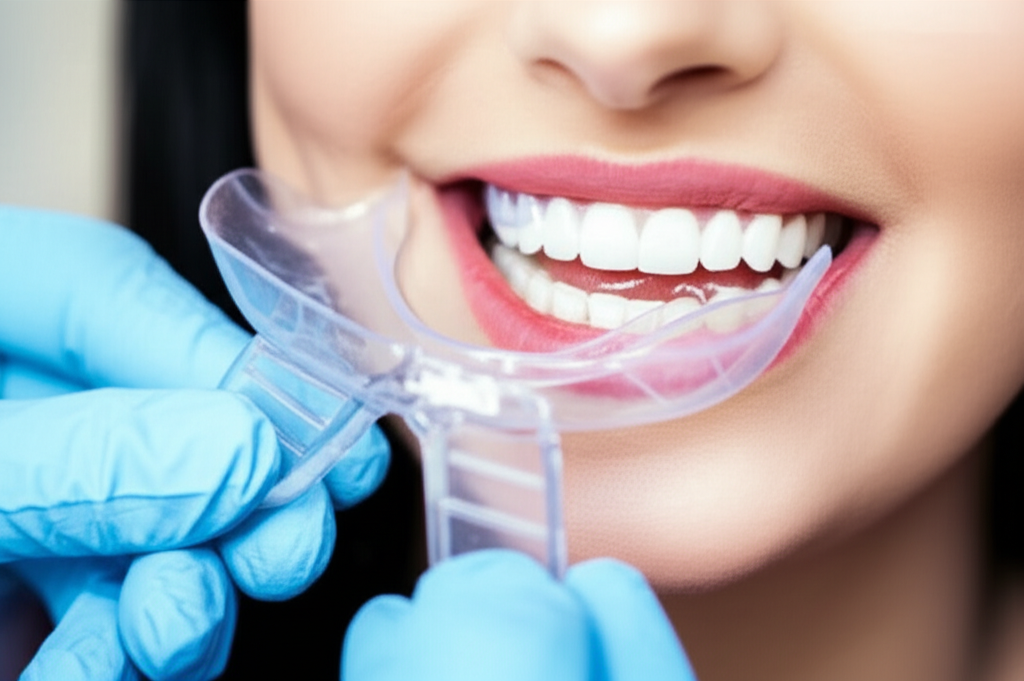
Custom whitening trays are thin, soft mouthguard-like pieces made from a mold of your teeth. A dental lab shapes these trays to fit you just right—like a custom glove for your teeth. Your dentist then gives you strong whitening gel, often made from carbamide peroxide or hydrogen peroxide. Store kits are usually made one-size-fits-all, but dentist trays fit your teeth and give better, safer results.
Think of it like painting a wall. Would you want a brush made for your hand, or someone else’s? The custom fit keeps the whitening gel on your teeth—not touching your gums where it can sting.
Why do dentists want to check things themselves?
Dentists want you to have a whiter smile but stay healthy. The custom tray makes sure the gel touches only your teeth, so your gums don’t get sore or burned. Your dentist also checks your teeth first for any problems (like cavities or old fillings) that need help before whitening. If anything feels wrong, your dentist is there to help and answer questions.
What will this guide cover?
- How to get your teeth and trays ready for the best results
- The easy steps for using your trays
- What to do if you get sore teeth or gums, and how to fix uneven color
- How to keep your smile white after bleaching
- Who should (and shouldn’t) use dentist trays, and when to call your dentist
Before You Begin: Key Preparation Steps
Teeth whitening isn’t just putting gel into trays. Getting ready first sets you up for good, fair results.
1. Visit Your Dentist First
Your dentist should check your teeth and gums before starting. Why? Any cavity, old filling, or gum problem can mean pain, poor whitening, or blotchy results. A cleaning may be needed to take off plaque and tartar, which lets the whitening gel work better.
- Why it matters: Whitening gel can’t bleach through tartar or thick plaque. Brushing and flossing at home help, but a dentist cleaning makes your teeth their cleanest.
2. Gather Your Supplies
Make sure you have:
- Your custom trays (clear, bendy mouthpiece shaped just for you)
- The whitening gel syringes (usually carbamide or hydrogen peroxide)
- A soft toothbrush and gentle toothpaste (skip the “whitening” or gritty kinds)
- Mirror and timer (your phone is fine)
- Desensitizing toothpaste, if your dentist said to use it
Pro tip: Keep all your stuff in a small box to make the routine simple.
3. Read Your Dentist’s Instructions
Your dentist may give you special rules—like how much gel, what strength, and how many days in a row. Always follow your dentist. This guide is for the most common way, but if your instructions are different, do what your dentist says.
How to Use Whitening Trays: Step-by-Step Instructions
Now, let’s get started. If you do things the right way, whitening your teeth can be quick and easy. Here’s how:
Step 1: Start with Very Clean Teeth
Why brush and floss first?
It’s like painting a wall—you want a clean surface, or else the color won’t look good! Teeth need to be clean so the gel works all over.
- Gently brush and floss. Use a soft toothbrush and simple, non-whitening toothpaste.
- Don’t use harsh whitening pastes—they can make your teeth or gums sore.
- If your dentist says so, rinse with water or a mild mouthwash.
Step 2: Get Your Whitening Trays Ready
How much gel? Where does it go?
More gel doesn’t mean whiter teeth! Just use a tiny dot for each tooth spot in the tray (about the size of a grain of rice or a lentil). Too much gel can burn gums and wastes it.
- Take off the gel syringe cap.
- Squeeze a small line of gel into each tooth space of the tray—mostly at the front part, which touches what people see.
- If the gel is thick, use a cotton swab or a clean finger to spread it inside.
Pro tip: If your dentist gave you a certain gel strength (like Opalescence PF 10%, 15%, or 20%), follow the wear time for that one. Stronger gel works faster, so use for less time.
Step 3: Put in the Trays
Be gentle.
- Place the tray over your teeth, starting at the front and pressing softly. Make sure each tooth fits into the right spot.
- Don’t bite hard or suck on the tray. Just let it sit.
- If you see gel squeezed out onto your gums, use a cotton swab or your finger to wipe it away.
Step 4: Time It
How long should you wear the trays?
Ask your dentist and check your gel! Typical times:
- 10% carbamide peroxide: 2–8 hours (overnight is okay)
- 15%–20% carbamide peroxide: 1–4 hours
- Hydrogen peroxide: 30 minutes–1 hour
Doing it every day (or every other day, if your teeth feel sore) for 1–2 weeks usually gives your best result.
- While trays are in: Don’t eat, drink, or smoke.
- If you taste gel: Don’t worry. Spit it out and rinse if you like.
Pro tip: Some gels are fine for sleeping, others are not. Always read the label.
Step 5: Take Trays Out and Wash Up
When the time is up:
- Gently pull out the trays.
- Spit out extra gel.
- Rinse your mouth with water.
- Clean your trays with cool or warm water and a soft toothbrush (no toothpaste). Don’t use hot water since it can ruin the trays.
- Dry trays and keep them in the box, away from sun or heat.
Keep gel tightly closed, in a cool, dark place (the fridge is fine), away from kids and pets.
Managing Sensitivity and Troubleshooting Issues
Many people wonder:
“Will my teeth feel sore? Can I get any side effects? What if my teeth look uneven?”
Let’s look at what can go wrong, and the easy fixes.
1. Tooth Sensitivity
That sudden zing or ache from hot or cold foods is common, but usually goes away.
Why does this happen?
The whitening stuff opens up tiny holes in your enamel so stains can be cleaned out. Sometimes, those holes let things like cold or sweet get deeper in your teeth, making them feel more sensitive.
How to stop it:
- Use desensitizing toothpaste with potassium nitrate and fluoride before, during, and after bleaching.
- Try wearing the trays for less time, or every other day.
- Use a lower strength gel if you keep getting sore teeth; ask your dentist for other ideas.
Tip: Sensitivity is usually mild and short. If pain is sharp, stays a long time, or is really bad, stop and call your dentist.
2. Gum Irritation
Gums can get sore if gel spills out or trays don’t fit tight.
How to stop it:
- Less gel is better.
- Wipe away extra gel from your gums after putting trays on.
- Take a break for a day or two if gums hurt.
Quick help: Rinse with warm salt water if your gums feel sore.
3. Uneven Whitening
Some teeth might be whiter than others, or old crowns and fillings stay the same color.
Why?
- Whitening only works on real tooth enamel—not fake teeth or fillings.
- Some teeth are just harder to whiten and might need more time, or stronger gel.
- Badly fitting trays can cause uneven color.
What to do: Ask your dentist at your next visit. They can talk about doing touch-ups or about changing old fillings or crowns after whitening.
When to Call the Dentist
Call your dentist if:
- Sensitivity is really bad or doesn’t go away after you stop whitening
- Gums look red, hurt, or have sores
- You see new dark spots, pain, or swelling
Your dentist can help with any problems.
Tips for the Brightest, Longest-lasting Results
You worked hard for your new smile. Here’s how to keep it white:
1. Use Your Kit Regularly
Doing it every day as told is better than doing it once in a while. If you miss a day or two, just start again where you stopped—you don’t have to do extra to catch up.
2. Watch What You Eat and Drink
Some foods and drinks stain teeth fast:
- Coffee, tea, red wine, and dark sodas
- Tomato sauce, berries, curry, soy sauce
During and after whitening:
- Try to skip these for at least 2 days (longer is even better). Your teeth are more open to stains right after bleaching.
- You can use a straw for drinks to help.
3. Keep Teeth Clean
It’s easy and works:
- Brush twice a day with gentle strokes.
- Floss every night to keep off plaque.
- Go back to your dentist for regular cleanings and checkups.
Fluoride toothpaste is best unless your dentist says no.
4. Do Touch-Up Treatments
Your results can last 6 months to 2 years, depending on what you eat and your habits. If your teeth get dull again, you can use your trays and gel for touch-ups. Most people do this every 6 months, or once a year.
- Save your trays, and ask your dentist for more gel if you need it.
- Don’t use expired gel; it just won’t work well. If gel looks dry or separated, get new gel.
5. Don’t Scrub Teeth Too Hard
Skip rough “whitening” toothpastes. These can scratch your enamel and take away your whitening. Ask your dentist what toothpaste is gentle and safe.
If you have crowns, veneers, or tooth-colored fillings in front: Whitening trays won’t change their color. If you want them to match your new tooth color, talk to your dentist after whitening. They can replace crowns or veneers so your smile looks even. Labs like a dental ceramics lab help your dentist get the color just right.
Who Are Dentist-Prescribed Whitening Trays Best For?
“Is this the right choice for me? Is there anyone who shouldn’t use whitening trays?”
Good for:
- Adults and teens with healthy teeth and gums, no untreated cavities or gum trouble
- People with yellow or stained teeth (from food, drinks, smoking, or age)
- Anyone who’s had a dental check and cleaning in the last 6 months
Maybe not for:
- Kids under 16 (their teeth are still growing)
- Pregnant or nursing women (not enough info to say it’s always safe)
- People who are allergic to peroxide
- Anyone with lots of dental work on front teeth (caps, veneers, etc.—these don’t whiten)
- People with untreated tooth or gum problems
If not sure, ask your dentist for advice. They can help you think about other ways, like in-office whitening or slower at-home kits. Digital dental lab technology can also help your dentist design the best plan for you.
Key Takeaways & Next Steps for Your Smile
Here’s the most important stuff to remember:
Whitening Trays Quick Guide:
- Prep: Clean your teeth. Always use custom trays and gel from the dentist.
- Apply: Tiny bit of gel per tooth—don’t load it up. Press trays on softly, and wipe off any that gets on your gums.
- Time: Wear as told—often from 30 minutes to overnight, depending on your gel.
- After: Rinse, clean trays with water, and put away.
- Side effects: Mild sore teeth or gums sometimes happen, but go away soon. Use desensitizing toothpaste or wear trays less if needed.
- Results: Around 2–7 shades lighter, usually staying 6–24 months. Touch up with your trays if it fades.
- Call your dentist if: Pain is strong, won’t go away, your gums get sore, or whitening doesn’t look right.
Your dentist is your teammate for teeth whitening—from start to finish. Want to do more, like crowns, veneers, or a full smile makeover? Ask your dentist—they work with labs like a crown and bridge lab to make it happen.
Most important: A white smile is great, but a healthy smile is always the goal. Enjoy making your teeth brighter, and talk to your dental office if you have any worries.
Medically checked by Dr. Jane Doe, DDS. For more easy dental tips, check the patient dental guide or ask a trusted dentist near you.
Sources: American Dental Association, Journal of Clinical Dentistry, Clinical Oral Investigations, Cochrane Review, Quintessence International. This article does not give medical advice—please ask your own dentist for what’s best for you.